Step-by-Step Guide to Installing a Solar LED Light Pole
Installing a solar LED light pole is an excellent way to illuminate outdoor spaces while harnessing clean, renewable energy. This comprehensive guide will walk you through the process of setting up a solar LED light pole, from site selection to final adjustments. Whether you're a DIY enthusiast or a professional installer, this step-by-step approach will help ensure a successful installation that provides reliable, eco-friendly lighting for years to come.

What are the key factors to consider when choosing a location for a solar LED light pole?
Assessing sunlight exposure
When selecting a location for your solar LED light pole, assessing sunlight exposure is crucial. The efficiency of your solar panel directly depends on the amount of sunlight it receives throughout the day. Ideally, choose a spot that gets at least 6-8 hours of direct sunlight daily. Avoid areas with heavy shade from trees, buildings, or other structures that could obstruct sunlight. Consider the sun's path throughout the year, as seasonal changes can affect the amount of sunlight reaching your solar panel. If possible, use a solar pathfinder or a similar tool to analyze potential locations and determine the best spot for maximum sun exposure. Remember that even partial shade can significantly reduce the solar panel's efficiency, impacting the overall performance of your solar LED light pole.
Evaluating soil conditions
The stability and longevity of your solar LED light pole installation heavily depend on the soil conditions at the chosen site. Begin by examining the soil type - is it sandy, clay-like, or rocky? Each soil type has different load-bearing capacities and drainage properties. Conduct a soil test to determine its composition and stability. For areas with loose or sandy soil, you may need to use a larger concrete foundation or special anchoring techniques to ensure the pole remains secure. In rocky terrain, pre-drilling might be necessary before installing the pole. Also, consider the soil's drainage capabilities to prevent water accumulation around the base of the pole, which could lead to instability or corrosion over time. If the chosen location has poor soil conditions, consult with a professional to determine the best installation method for your solar LED light pole.
Considering proximity to power lines and utilities
When installing a solar LED light pole, it's essential to consider its proximity to existing power lines and underground utilities. Although solar-powered lights don't require connection to the electrical grid, you must still ensure that the installation doesn't interfere with or damage any existing infrastructure. Before digging, contact your local utility companies or call 811 (in the United States) to have underground utilities marked. This step is crucial for safety and to avoid costly damages. Keep in mind that some areas may have regulations regarding the minimum distance between light poles and power lines. Additionally, consider the potential for future landscaping or construction projects in the area that might affect your solar LED light pole. By carefully assessing the location in relation to existing utilities, you can ensure a safe and compliant installation that won't cause problems down the line.
How do you prepare the site and install the foundation for a solar LED light pole?
Marking and excavating the installation area
The first step in preparing the site for your solar LED light pole is to mark and excavate the installation area. Begin by clearly marking the exact location where the pole will be installed using spray paint or stakes. Consider using a string line to ensure perfect alignment if you're installing multiple poles. Once marked, start excavating the area. The size and depth of the excavation depend on the pole's height, local building codes, and soil conditions. Typically, the hole should be at least 1/6 the height of the pole plus an additional foot for the concrete base. For example, a 20-foot pole would require a hole at least 4.3 feet deep. Ensure the hole is wide enough to accommodate the concrete form tube, usually about 12-18 inches in diameter. As you dig, keep the sides of the hole as vertical as possible to provide maximum stability for the concrete foundation.
Pouring the concrete foundation
After excavating the hole, it's time to pour the concrete foundation for your solar LED light pole. Start by placing a concrete form tube in the hole, ensuring it's level and plumb. The tube should extend slightly above ground level to prevent water from pooling around the base of the pole. Next, prepare the concrete mix according to the manufacturer's instructions. Pour the concrete into the form tube, filling it to about 6 inches from the top. As you pour, use a rod or stick to tamp the concrete, removing any air bubbles. Once the concrete is poured, insert J-bolts or anchor bolts into the wet concrete, positioning them according to the pole's base plate pattern. These bolts will secure the pole to the foundation. Use a template to ensure precise bolt placement. Allow the concrete to cure for at least 24-48 hours, or as recommended by the manufacturer, before proceeding with the pole installation. Proper curing is crucial for the foundation's strength and stability.
Installing conduit for wiring
While the concrete foundation is curing, it's an opportune time to install the conduit for wiring your solar LED light pole. Although solar-powered lights don't require connection to the main power grid, you'll still need to run wires from the solar panel to the battery and LED fixture. Start by determining the path for the conduit, considering the most direct route that avoids potential obstacles or areas prone to damage. Use PVC conduit that's appropriate for outdoor use and sized to accommodate the necessary wires. Begin by installing a sweep elbow at the base of the pole location, extending it into the concrete form tube before the concrete fully sets. This will allow for easy wire routing later. Extend the conduit to the location where the battery box will be installed, typically at the base of the pole or in a nearby weatherproof enclosure. Ensure all connections are secure and weatherproof to protect the wiring from moisture and other environmental factors.
What are the steps for assembling and erecting the solar LED light pole?
Attaching the solar panel and LED fixture
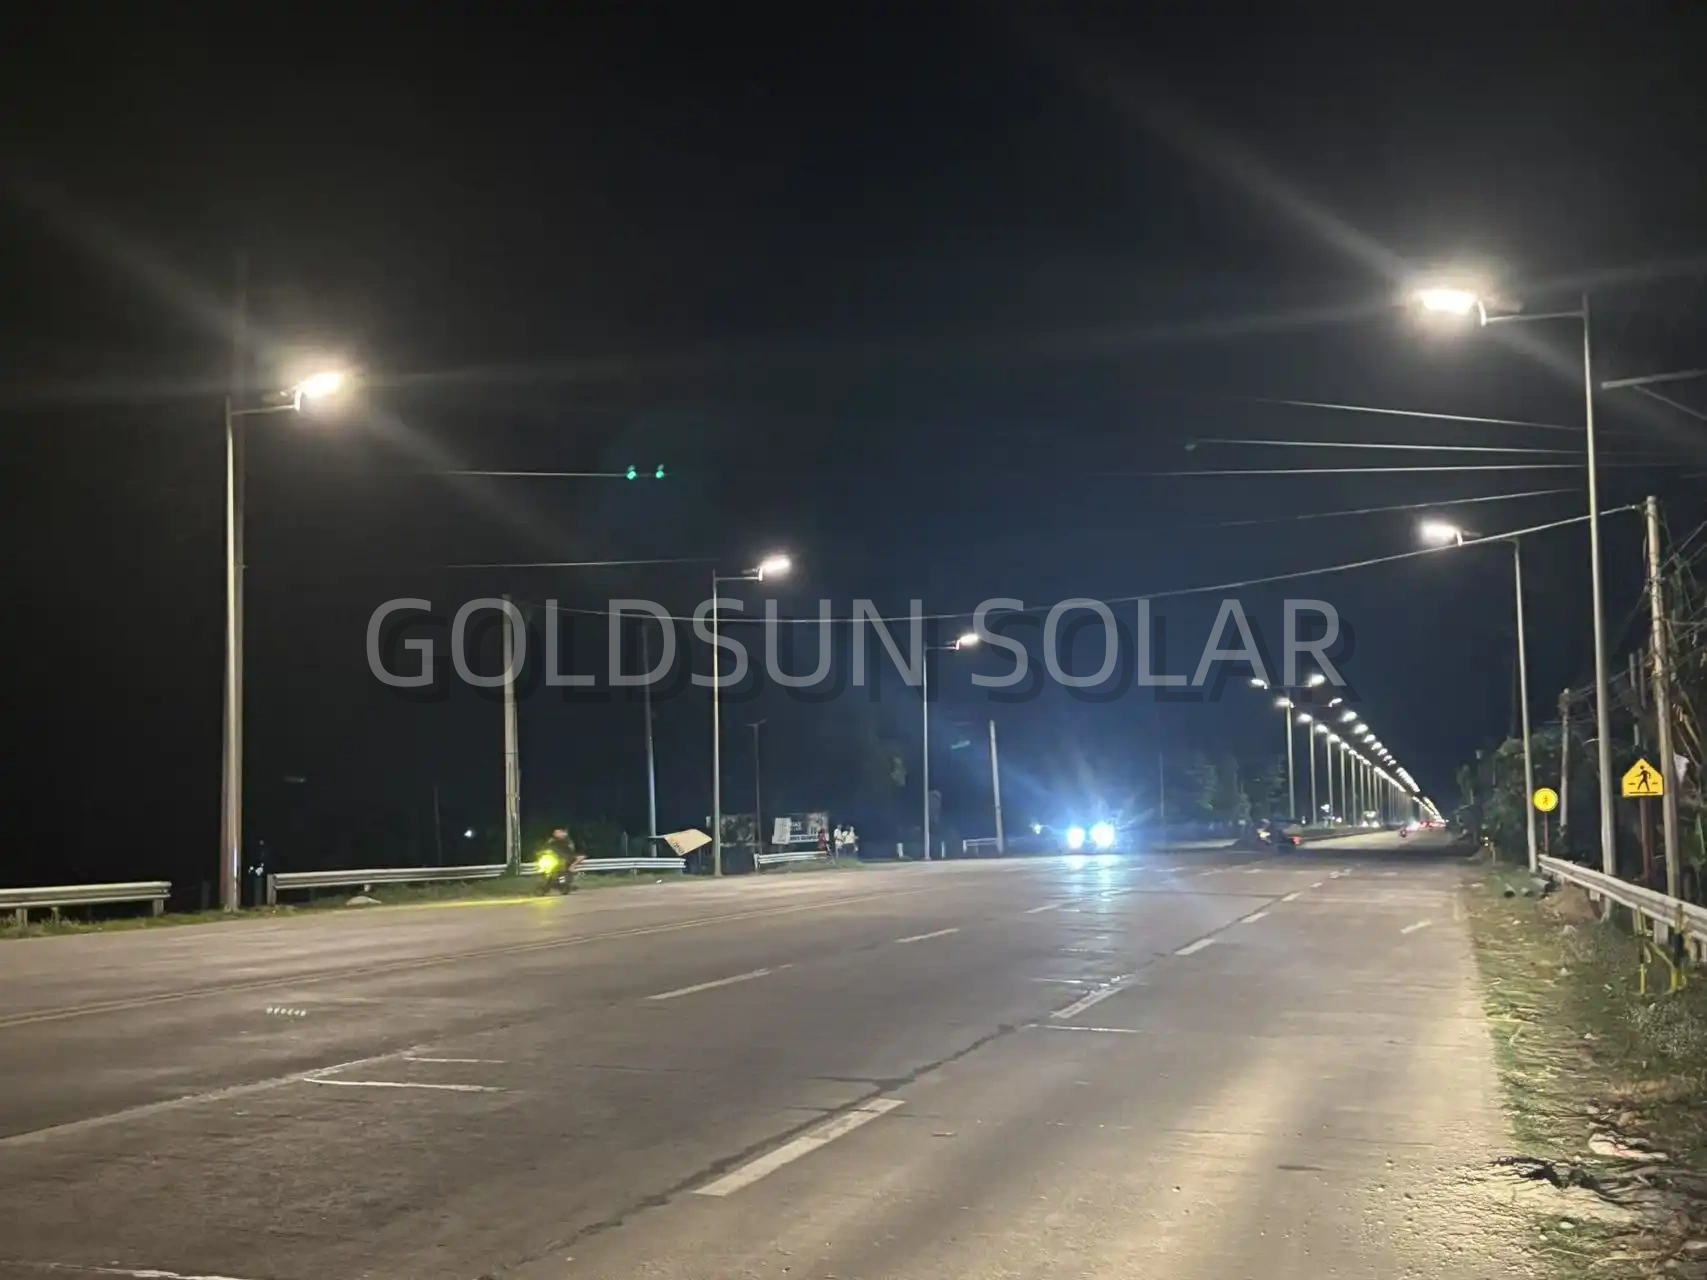
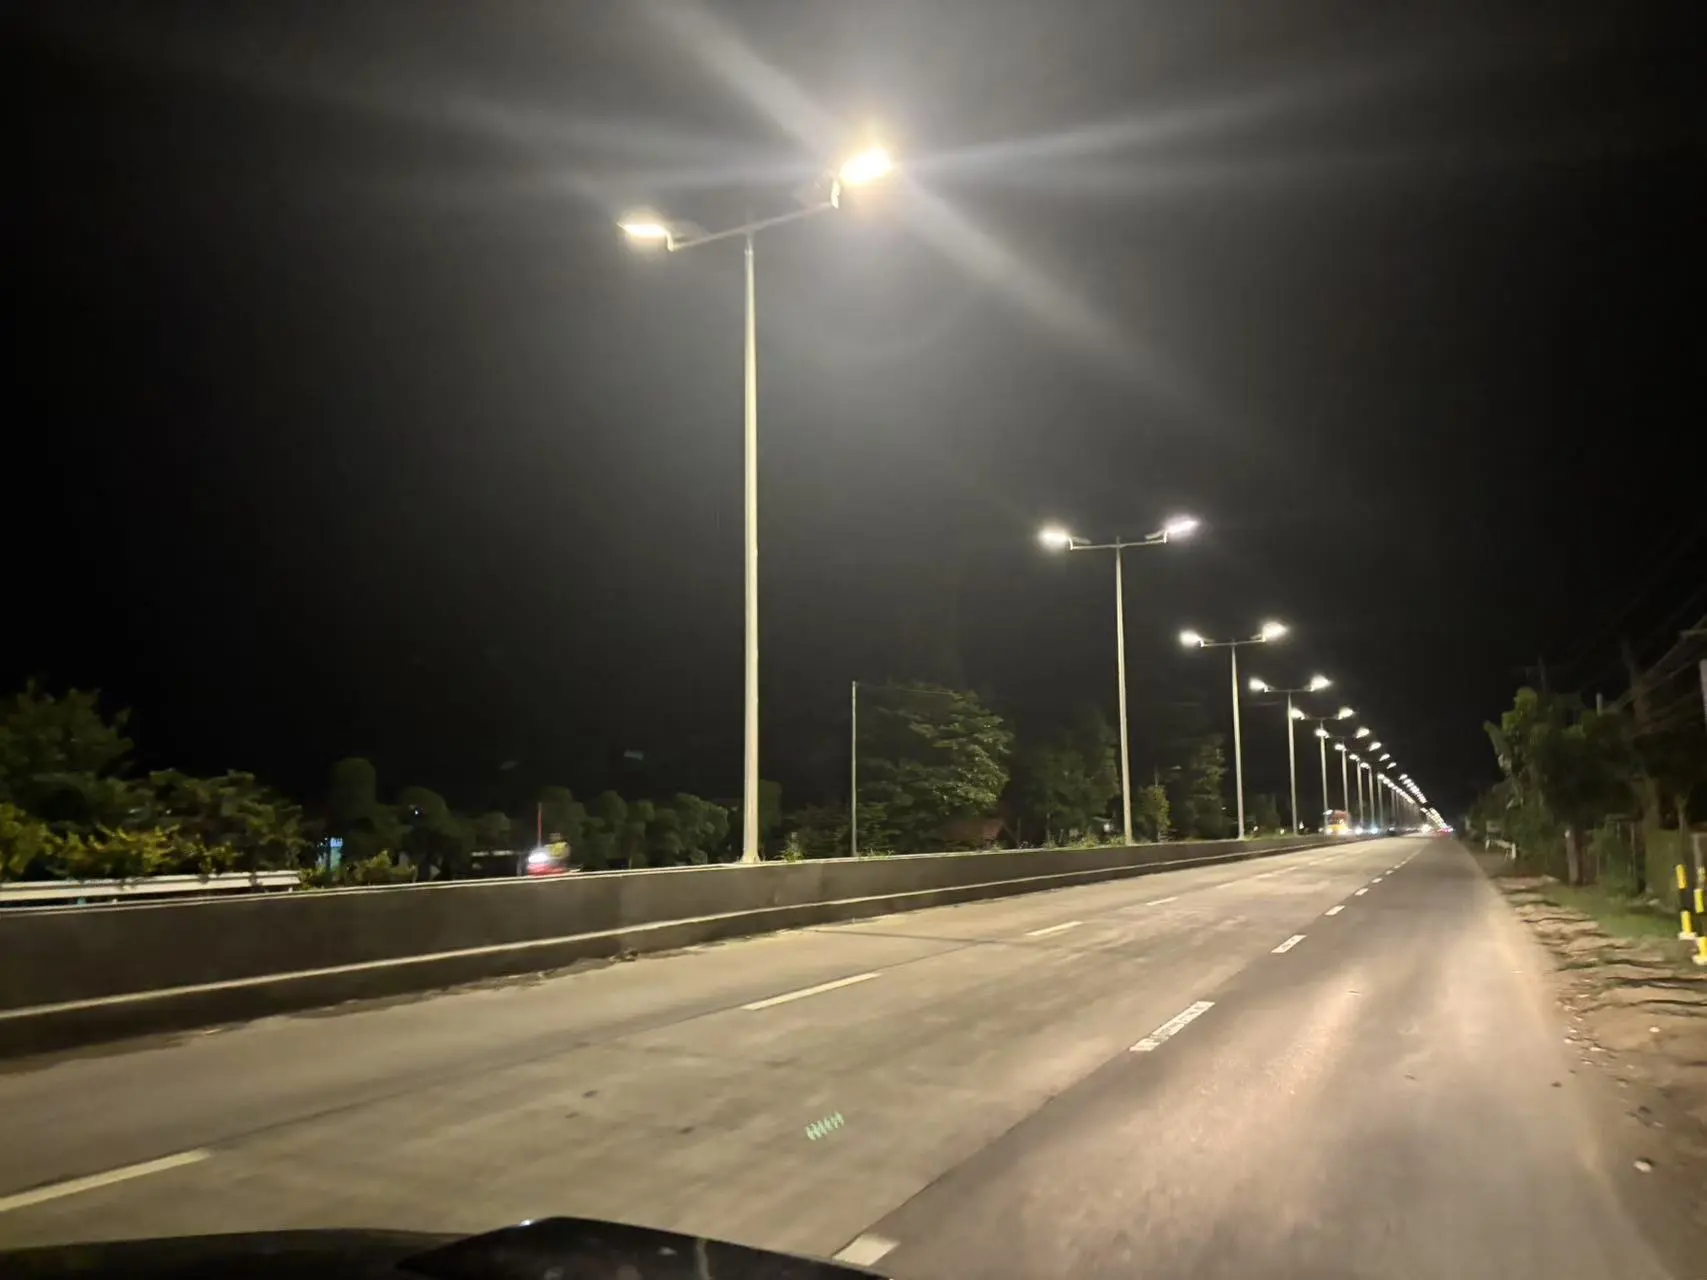
Once the foundation has cured and the conduit is in place, you can begin assembling the solar LED light pole. Start by attaching the solar panel to the top of the pole. Most solar LED light poles come with a mounting bracket designed specifically for this purpose. Ensure the solar panel is securely fastened and angled correctly to maximize sun exposure. The optimal angle typically matches the latitude of your location. Next, attach the LED fixture to the pole arm or directly to the pole, depending on your specific model. Make sure all connections are tight and weatherproof. Some systems may require you to connect the wiring for the solar panel and LED fixture at this stage, while others may have pre-wired components. Follow the manufacturer's instructions carefully to ensure proper connections. Remember to leave enough slack in the wires to allow for any necessary adjustments later.
Erecting the pole and securing it to the foundation
Erecting the solar LED light pole is a critical step that often requires multiple people or specialized equipment, depending on the pole's size and weight. Before lifting the pole, double-check that all components are securely attached and wiring is properly connected. Carefully lift the pole and guide it into position over the anchor bolts in the concrete foundation. Slowly lower the pole, ensuring the base plate aligns perfectly with the anchor bolts. Once in place, secure the pole to the foundation using nuts and washers on the anchor bolts. Use a level to ensure the pole is perfectly vertical, adjusting as necessary. Tighten all nuts evenly to prevent warping of the base plate. For taller poles or in areas with high wind loads, consider using guy wires for additional support. These should be installed at a 45-degree angle from the pole and anchored securely in the ground.
Installing the battery and control system
The final step in assembling your solar LED light pole is installing the battery and control system. These components are typically housed in a weatherproof enclosure at the base of the pole or nearby. Begin by mounting the enclosure securely, ensuring it's easily accessible for maintenance but protected from tampering. Install the battery inside the enclosure, making sure it's the correct type and capacity for your system. Connect the battery to the charge controller, which regulates the power flow between the solar panel, battery, and LED fixture. Next, connect the solar panel and LED fixture to the charge controller, following the manufacturer's wiring diagram carefully. Many modern solar LED light poles include smart controllers that can be programmed for various lighting schedules and dimming options. Take the time to properly configure these settings to maximize efficiency and battery life. Finally, seal all connections and close the enclosure securely to protect the components from the elements.
Conclusion
Installing a solar LED light pole is a rewarding project that combines sustainable energy with practical lighting solutions. By carefully considering factors such as location, sunlight exposure, and soil conditions, you can ensure optimal performance and longevity of your installation. The step-by-step process, from site preparation to final assembly, requires attention to detail and adherence to safety guidelines. With proper installation and maintenance, your solar LED light pole will provide reliable, eco-friendly illumination for years to come, contributing to a greener and more energy-efficient environment.
Yangzhou Goldsun Solar Energy Co., Ltd. specializes in solar street lights, offering an impressive production capacity of 10,000-13,500 sets annually. With ISO9001 certification and products meeting CE, RoHS, SGS, and IEC 62133 standards, we have a global presence, having installed over 500 projects in 100+ countries, including UNDP, UNOPS, and IOM. Our solar lights are backed by a 5-year warranty, and we offer customized solutions with OEM support. We ensure fast delivery and secure packaging. Contact us at solar@gdsolarlight.com for inquiries.
References
- Smith, J. (2021). Solar LED Lighting: Installation and Maintenance Guide. Renewable Energy Press.
- Johnson, A. & Brown, T. (2020). Outdoor Lighting Solutions: A Comprehensive Approach. Illumination Technologies.
- Green Energy Association. (2022). Best Practices for Solar-Powered Lighting Installations. Annual Report.
- Davis, M. (2019). Soil Mechanics for Light Pole Foundations. Civil Engineering Journal, 45(3), 78-92.
- Wilson, R. (2021). Solar Panel Positioning: Maximizing Efficiency in Various Climates. Solar Energy Today, 12(2), 34-49.
- Thompson, L. & Lee, K. (2020). Safety Considerations in Solar Street Light Installation. Occupational Safety Review, 18(4), 112-125.
Share your inquiry, and receive a tailored quotation!
Yangzhou Goldsun Solar Energy Co.,Ltd.