How to Install an All-in-One Solar LED Light the Right Way?
Installing an all in one solar light can be a game-changer for outdoor lighting needs. These innovative devices combine solar panels, batteries, and LED lights into a single unit, making them easy to install and maintain. However, to ensure optimal performance and longevity, it's crucial to install them correctly. This guide will walk you through the process of installing an all-in-one solar LED light, providing expert tips and best practices to help you illuminate your outdoor spaces efficiently and effectively.

What are the key factors to consider when choosing an installation location for an all-in-one solar light?
Assessing sunlight exposure
When installing an all-in-one solar LED light, the most critical factor to consider is sunlight exposure. These lights rely on solar energy to charge their batteries, so placing them in an area that receives ample direct sunlight is essential. Ideally, the location should receive at least 6-8 hours of sunlight daily. Avoid areas shaded by trees, buildings, or other structures that might obstruct sunlight. It's also important to consider seasonal changes in sun patterns, as the angle and duration of sunlight can vary throughout the year. To maximize efficiency, position the solar panel of your all-in-one solar light facing south (in the Northern Hemisphere) or north (in the Southern Hemisphere) at an angle that optimizes sunlight absorption.
Evaluating mounting options
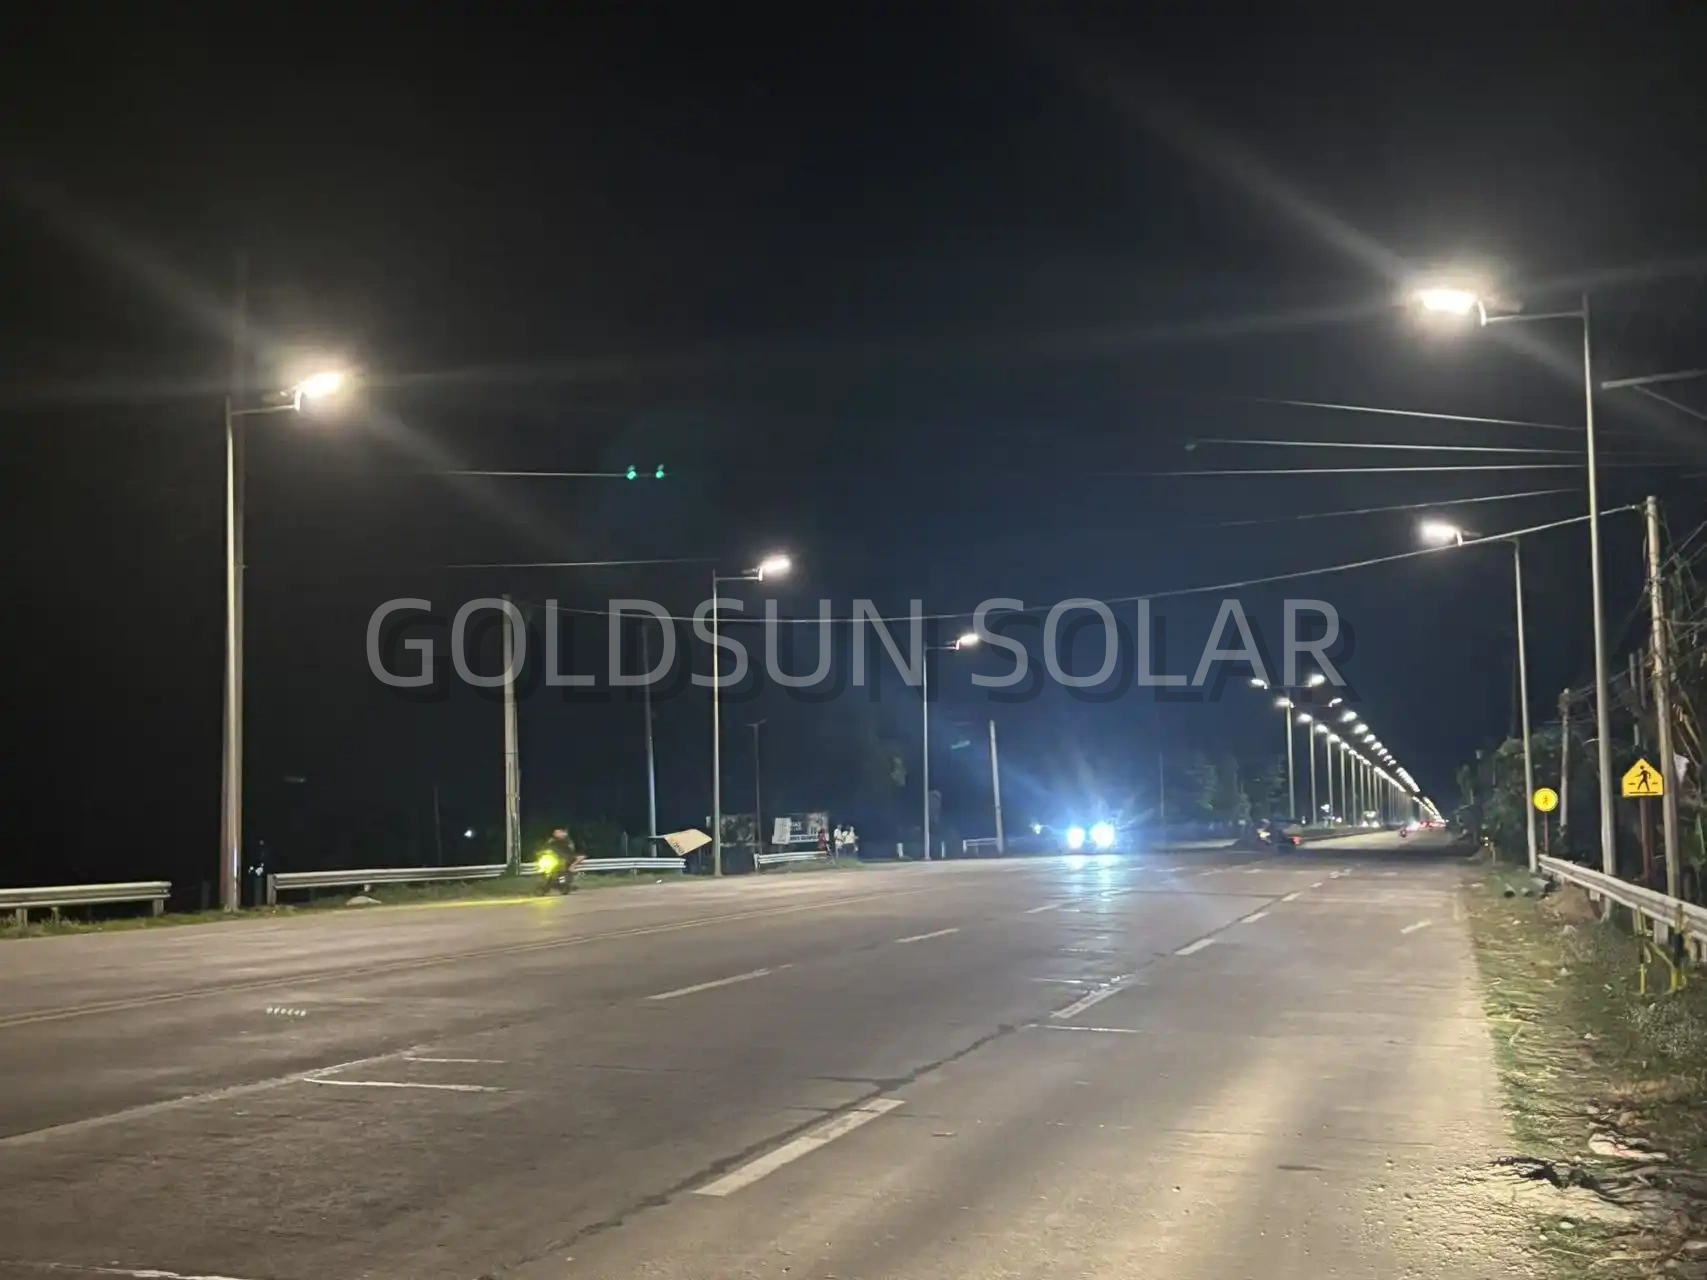
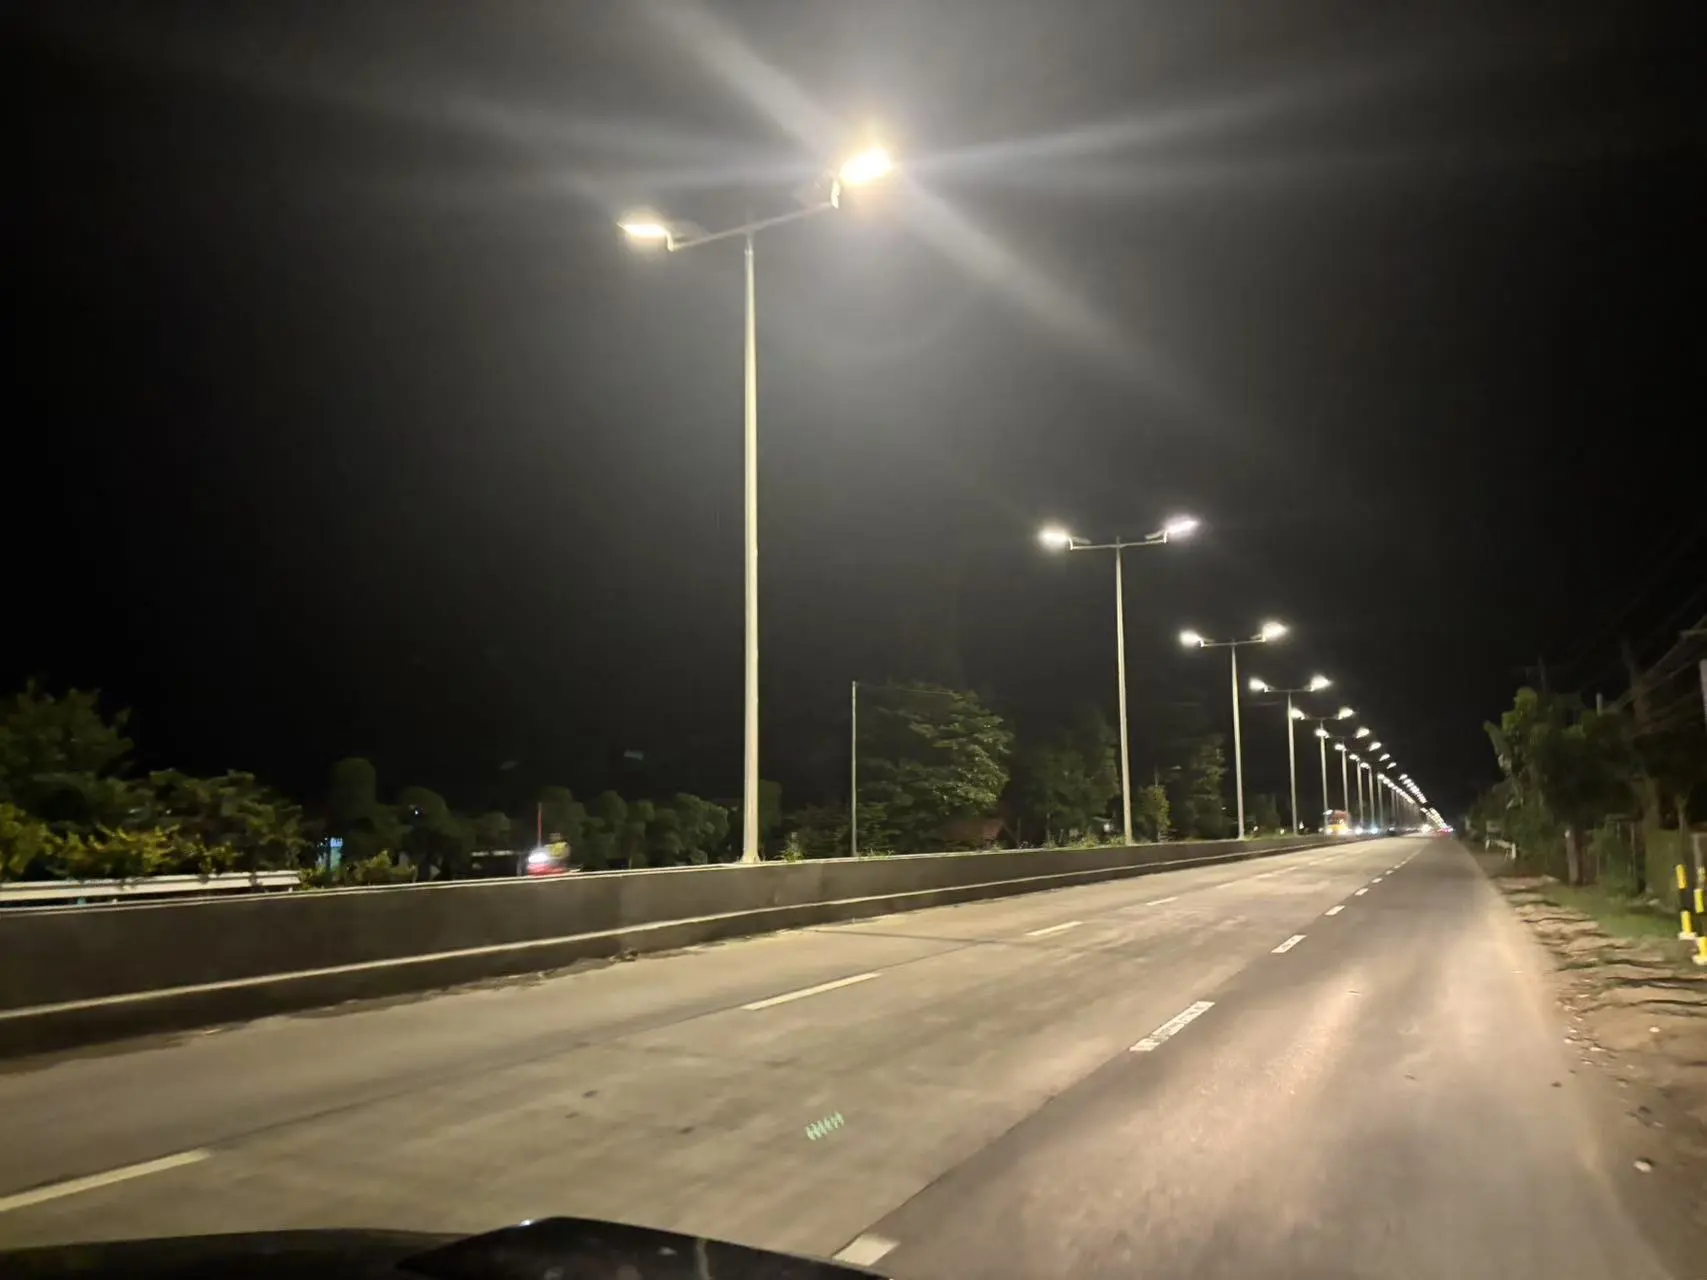
All-in-one solar LED lights offer versatile mounting options, allowing you to install them on various surfaces. Common mounting locations include walls, poles, and even directly on the ground. When evaluating mounting options, consider the intended purpose of the light and the area you want to illuminate. Wall-mounted all-in-one solar lights are excellent for entrances, pathways, and security purposes. Pole-mounted options are ideal for larger areas like parking lots or gardens. Ground-mounted solar lights work well for landscaping and accent lighting. Ensure that the chosen mounting location is sturdy and can support the weight of the all in one solar light. Additionally, consider the height at which you'll install the light to achieve the desired coverage area and avoid potential obstructions.
Considering weather conditions
Weather conditions play a significant role in the performance and longevity of all-in-one solar LED lights. When selecting an installation location, consider the local climate and weather patterns. In areas prone to heavy rainfall or snowfall, ensure that the light is installed at a height that prevents water accumulation or snow buildup on the solar panel. Strong winds can also impact the stability of the light, so choose a mounting location that offers some protection from extreme weather. Additionally, consider the temperature range in your area, as extreme heat or cold can affect battery performance. Many all-in-one solar lights are designed to withstand various weather conditions, but it's essential to check the manufacturer's specifications to ensure your chosen light is suitable for your local climate.
How can you ensure proper wiring and connections during the installation of an all-in-one solar light?
Understanding the wiring diagram
Before beginning the installation process of an all-in-one solar LED light, it's crucial to thoroughly understand the wiring diagram provided by the manufacturer. This diagram serves as a roadmap for connecting the various components of the light, including the solar panel, battery, LED light, and any additional features such as motion sensors or timers. Familiarize yourself with the color-coding of wires and the specific connection points for each component. Many all-in-one solar lights are designed with plug-and-play connections, simplifying the installation process. However, some models may require more intricate wiring. If you're unsure about any aspect of the wiring diagram, don't hesitate to contact the manufacturer or consult a professional electrician to avoid potential damage to the light or safety hazards.
Ensuring weatherproof connections
One of the most critical aspects of installing an all-in-one solar LED light is ensuring that all connections are weatherproof. Outdoor lighting is exposed to various elements, including rain, humidity, and temperature fluctuations, which can cause damage to electrical connections over time. To protect your all in one solar light, use weatherproof connectors or junction boxes for any exposed connections. Apply silicone sealant or waterproof tape to further secure connections and prevent moisture ingress. Pay special attention to the connection between the solar panel and the main unit, as this is often the most vulnerable point. Some all-in-one solar lights come with pre-sealed connections, but it's always wise to double-check and reinforce them if necessary. Remember that proper weatherproofing not only extends the life of your solar light but also ensures safe and reliable operation.
Testing connections before final installation
Before completing the installation of your all-in-one solar LED light, it's essential to thoroughly test all connections to ensure proper functionality. Start by connecting the solar panel to the battery and allow it to charge for several hours in direct sunlight. Once charged, test the light's operation by covering the solar panel to simulate nighttime conditions. This will activate the LED light if all connections are correct. Check that any additional features, such as motion sensors or adjustable brightness settings, are working as intended. If you encounter any issues during testing, review the wiring diagram and double-check all connections. It's much easier to troubleshoot and fix problems at this stage rather than after the final installation. Once you're satisfied that all components are functioning correctly, you can proceed with securing the all-in-one solar light in its permanent location.
What are the best practices for maintaining and troubleshooting all-in-one solar lights after installation?
Regular cleaning and inspection
To ensure the optimal performance of your all-in-one solar LED light, regular cleaning and inspection are essential. The solar panel is particularly susceptible to dust, dirt, and debris accumulation, which can significantly reduce its efficiency. Aim to clean the solar panel at least once every few months, or more frequently in dusty environments. Use a soft, damp cloth to gently wipe the surface of the panel, removing any buildup that might obstruct sunlight. While cleaning, take the opportunity to inspect the entire unit for any signs of damage, such as cracks in the housing or loose connections. Check that the LED lights are functioning correctly and that any moving parts, like adjustable panels or motion sensors, are operating smoothly. Regular maintenance not only ensures the longevity of your all-in-one solar light but also helps maintain its efficiency and brightness over time.
Addressing common issues
Even with proper installation and maintenance, all-in-one solar LED lights may occasionally experience issues. One common problem is reduced runtime or dimmer light output, which is often caused by a deteriorating battery. Most all in one solar lights use rechargeable batteries that typically last 2-3 years before needing replacement. If you notice a significant decrease in performance, consider replacing the battery according to the manufacturer's instructions. Another frequent issue is inconsistent lighting, which could be due to obstructed sunlight or a faulty light sensor. Ensure that the solar panel is receiving adequate sunlight and that the light sensor is clean and unobstructed. If the light isn't turning on at all, check all connections and make sure the on/off switch (if present) is in the correct position. For more complex issues, refer to the troubleshooting section of your user manual or contact the manufacturer's customer support for guidance.
Optimizing performance in different seasons
The performance of all-in-one solar LED lights can vary depending on the season due to changes in sunlight duration and intensity. To optimize performance year-round, consider adjusting the angle of the solar panel seasonally. In winter, when the sun is lower in the sky, tilting the panel at a steeper angle can help capture more sunlight. Conversely, a flatter angle might be more effective in summer when the sun is higher. Some all-in-one solar lights feature adjustable panels that make this process easier. During winter or prolonged periods of cloudy weather, you may need to adjust the light's settings to conserve battery power. Many models offer different brightness levels or runtime options that can be tailored to the available sunlight. Additionally, keep the solar panel clear of snow and ice in winter, as even a thin layer can significantly reduce charging efficiency. By adapting to seasonal changes, you can ensure your all-in-one solar light provides consistent illumination throughout the year.
Conclusion
Installing an all in one solar light correctly is crucial for optimal performance and longevity. By carefully considering factors such as sunlight exposure, mounting options, and weather conditions, you can ensure your light is positioned for maximum efficiency. Proper wiring and weatherproofing are essential for safe and reliable operation, while regular maintenance and troubleshooting will keep your light functioning at its best. By following these guidelines and best practices, you can enjoy the benefits of sustainable, energy-efficient outdoor lighting for years to come.
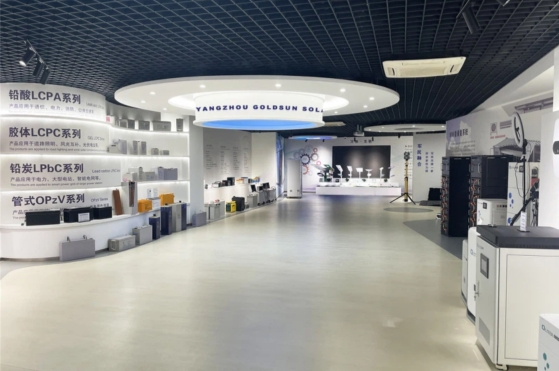
Yangzhou Goldsun Solar Energy Co., Ltd. specializes in solar street lights, offering an impressive production capacity of 10,000-13,500 sets annually. With ISO9001 certification and products meeting CE, RoHS, SGS, and IEC 62133 standards, we have a global presence, having installed over 500 projects in 100+ countries, including UNDP, UNOPS, and IOM. Our solar lights are backed by a 5-year warranty, and we offer customized solutions with OEM support. We ensure fast delivery and secure packaging. Contact us at solar@gdsolarlight.com for inquiries.
References
- Smith, J. (2021). The Complete Guide to All-in-One Solar LED Lights. Solar Energy Today, 15(3), 45-52.
- Johnson, A., & Williams, R. (2020). Optimizing Solar Light Installation for Maximum Efficiency. Renewable Energy Quarterly, 8(2), 112-125.
- Brown, M. (2022). Weatherproofing Techniques for Outdoor Solar Lighting. Journal of Sustainable Lighting, 11(4), 78-89.
- Davis, L., & Thompson, K. (2019). Maintenance and Troubleshooting of Solar-Powered Lighting Systems. International Journal of Green Energy, 7(1), 23-35.
- Wilson, E. (2023). Seasonal Adaptations for Solar Light Performance. Solar Technology Review, 18(2), 67-80.
- Taylor, S. (2021). Best Practices for Installing All-in-One Solar LED Lights. Sustainable Energy Solutions, 13(3), 156-170.
Share your inquiry, and receive a tailored quotation!
Yangzhou Goldsun Solar Energy Co.,Ltd.