Step-by-step guide to installing solar street lights
Site preparation and assessment
Before diving into the installation process, it's crucial to thoroughly assess and prepare the site where you plan to install your solar street lights outdoor. Start by conducting a comprehensive survey of the area, taking note of any potential obstacles that might interfere with sunlight exposure or the installation process itself. Look for overhead power lines, trees, buildings, or other structures that could cast shadows on the solar panels, reducing their efficiency.
Next, evaluate the soil conditions at your chosen locations. The stability of the ground is paramount for ensuring the long-term durability of your solar street light installation. If the soil is particularly soft or prone to erosion, you may need to consider additional reinforcement measures, such as using concrete footings or larger base plates.
It's also wise to check local regulations and obtain any necessary permits before beginning the installation. Some areas have specific requirements regarding the height, placement, or brightness of outdoor lighting fixtures. Compliance with these regulations will save you potential headaches down the line.
Component assembly and mounting
Once your site is prepared and assessed, it's time to move on to the assembly and mounting of your solar street light components. Begin by unpacking all the parts and verifying that you have everything needed for the installation. Typical components include the solar panel, LED light fixture, battery, charge controller, mounting pole, and various connectors and fasteners.
Start by assembling the mounting pole if it comes in sections. Ensure all connections are secure and that the pole is straight. If you're using a concrete foundation, you'll need to set the pole in place and pour the concrete around it, making sure it's perfectly vertical using a level. Allow the concrete to cure fully before proceeding with the rest of the installation.
Next, attach the solar panel to its mounting bracket. The angle of the panel is crucial for maximizing sunlight absorption, so adjust it according to your geographical location and the manufacturer's recommendations. Generally, the panel should face true south in the Northern Hemisphere and true north in the Southern Hemisphere.
Attach the LED light fixture to the pole, ensuring it's securely fastened and positioned at the desired height and angle for optimal illumination. Connect the solar panel, battery, and light fixture to the charge controller, following the wiring diagram provided with your solar street light kit. Double-check all connections to prevent any electrical issues.
Do you need an electrician to install solar-powered outdoor lights?
DIY installation vs. professional services
The question of whether you need an electrician to install solar-powered outdoor lights is a common one, and the answer largely depends on the complexity of the system and your own DIY skills. In many cases, solar street lights outdoor are designed for relatively simple installation, making them accessible for individuals with basic handyman skills.
Most solar street light kits come with comprehensive installation instructions and are engineered to be user-friendly. The absence of complex wiring to a central power grid significantly reduces the technical challenges involved. If you're comfortable working with tools, following detailed instructions, and have a good understanding of basic electrical concepts, you may be able to handle the installation yourself.
However, there are scenarios where professional assistance, either from an electrician or a specialized solar lighting installer, might be beneficial or even necessary. Large-scale projects, particularly those involving multiple lights or integration with existing electrical systems, may require expert knowledge. Additionally, if your installation involves any modifications to existing electrical infrastructure or requires compliance with specific local codes, professional guidance can ensure safety and regulatory adherence.
Safety considerations and electrical knowledge
While solar street lights generally operate at low voltages, making them safer to handle than traditional electrical systems, there are still important safety considerations to keep in mind. Even if you decide to proceed with a DIY installation, a basic understanding of electrical principles is crucial.
Familiarize yourself with concepts such as voltage, amperage, and proper grounding techniques. Be aware of the potential risks associated with battery storage and handling. Always wear appropriate personal protective equipment, including gloves and safety glasses, when working with electrical components.
If you're unsure about any aspect of the installation process or feel uncomfortable working with electrical systems, it's always better to err on the side of caution and consult a professional. An experienced electrician or solar lighting specialist can not only ensure a safe and efficient installation but also provide valuable advice on optimizing your solar street light system for maximum performance and longevity.
Best placement tips for maximum sunlight exposure & coverage
Optimal positioning for solar panels
The effectiveness of your solar street lights outdoor hinges significantly on the placement of the solar panels. To maximize sunlight exposure and ensure optimal energy generation, consider the following tips:
Firstly, orient your solar panels towards the equator. This means facing them south in the Northern Hemisphere and north in the Southern Hemisphere. The ideal angle of tilt for your panels should be roughly equal to your latitude. For example, if you're installing solar street lights in a location with a latitude of 40 degrees, tilt your panels at approximately 40 degrees from horizontal.
Be mindful of potential obstructions that could cast shadows on your panels. Trees, buildings, and other structures can significantly reduce the amount of sunlight reaching your solar panels, especially during winter months when the sun's path is lower in the sky. Conduct a thorough shade analysis throughout the year to identify and mitigate any potential issues.
Consider adjustable mounting systems that allow you to optimize the panel angle seasonally. This can help you capture more sunlight during winter months when the sun's path is lower and energy needs may be higher due to longer nights.
Strategic light placement for optimal coverage
While maximizing sunlight exposure for your solar panels is crucial, equally important is the strategic placement of the lights themselves to ensure optimal coverage of your outdoor area. Here are some tips to help you achieve the best illumination:
Start by creating a lighting plan. Map out the area you want to illuminate and identify key points that require lighting, such as pathways, entrances, or potential security risk areas. Consider the desired light intensity and distribution pattern for each location.
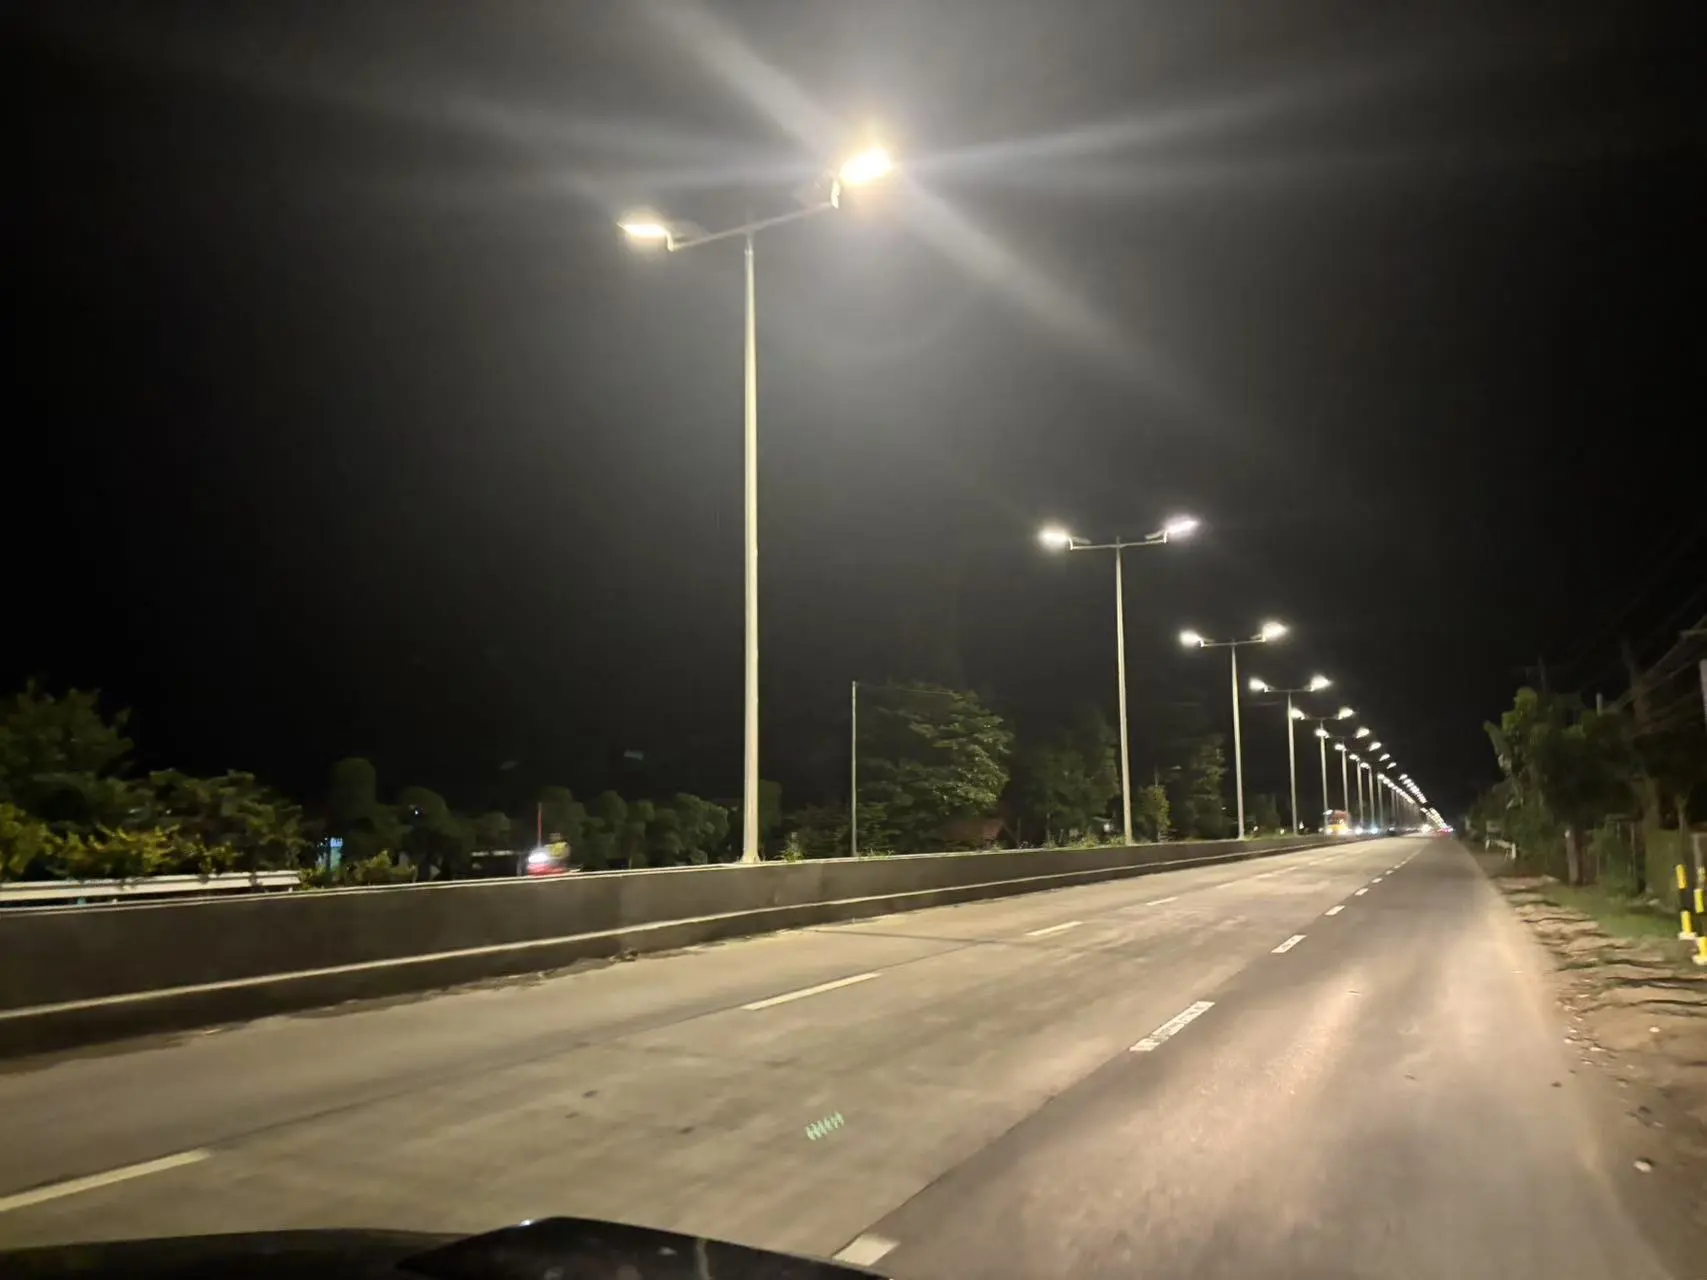
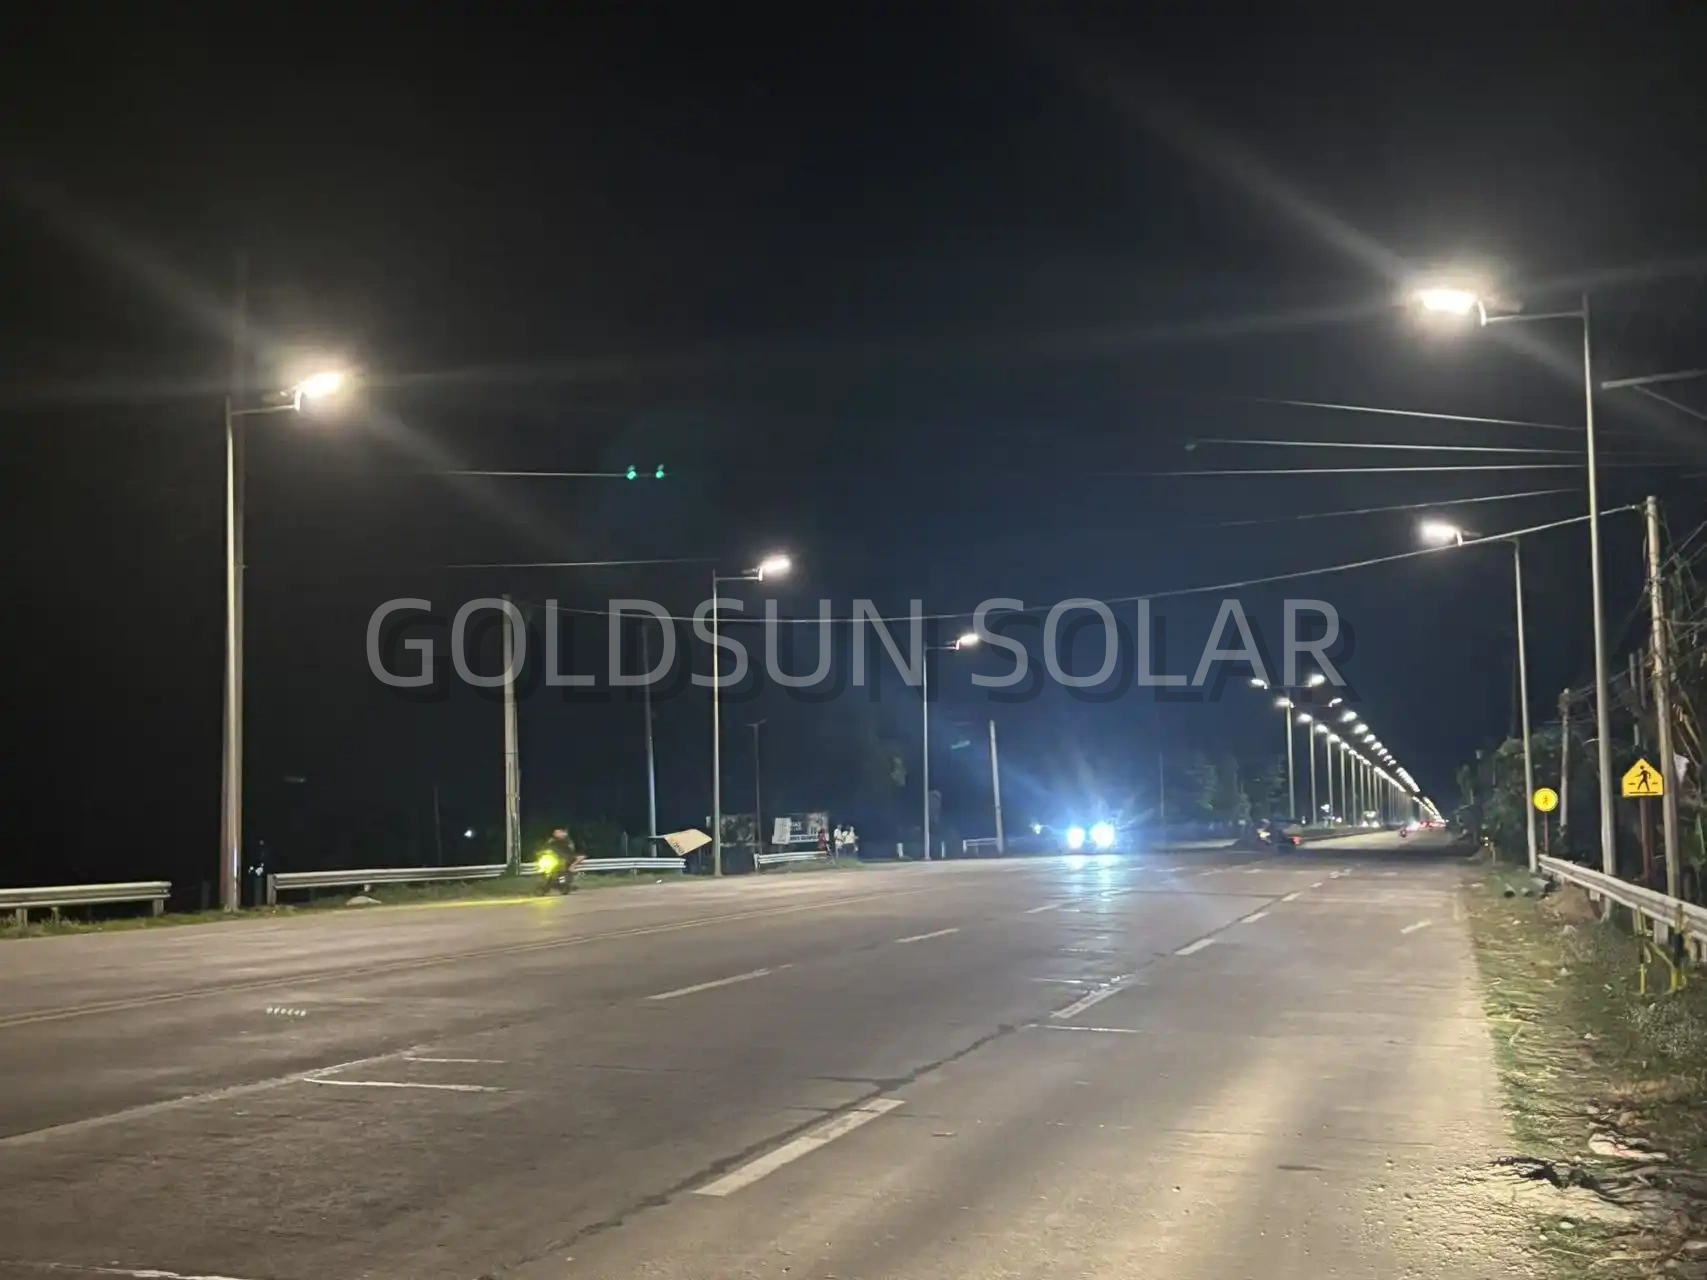
Space your solar street lights appropriately to avoid dark spots between fixtures. The distance between lights will depend on the height of the poles and the power of the LED fixtures. As a general rule, aim for a spacing that is about 3-4 times the height of the light pole.
Take into account the surrounding environment when positioning your lights. Reflective surfaces, like light-colored walls or water features, can help amplify and distribute light more effectively. Conversely, dark surfaces may absorb more light, requiring additional fixtures or higher intensity settings.
Consider using a mix of lighting types to create a more dynamic and efficient lighting scheme. Combine wider area lights with more focused path lights or spotlights to highlight specific features or areas of importance.
Remember to be mindful of light pollution. Direct your lights downward and use fixtures with appropriate shielding to minimize glare and light trespass onto neighboring properties or into the night sky. This not only reduces energy waste but also helps preserve the natural nighttime environment.
By carefully considering both the placement of your solar panels for maximum energy generation and the strategic positioning of your light fixtures for optimal coverage, you can create an efficient, effective, and environmentally friendly outdoor lighting solution.
In conclusion, installing solar street lights outdoors is a rewarding project that can enhance the safety and aesthetics of your outdoor spaces while promoting sustainability. By following the step-by-step guide, considering professional help when necessary, and optimizing placement for both sunlight exposure and coverage, you can achieve excellent results. For more information on our solar street light solutions, including our 5-year warranty and customized OEM support, please contact us at solar@gdsolarlight.com. We're here to help you illuminate your outdoor areas efficiently and effectively.